Hi Everybody,
Sorry for the delay in the Tuesday Tutorial but I am sure that you can understand why. I have been so busy with the launch of my new collection. I hope to be back on track again next week and the Friday Freebie is back this week
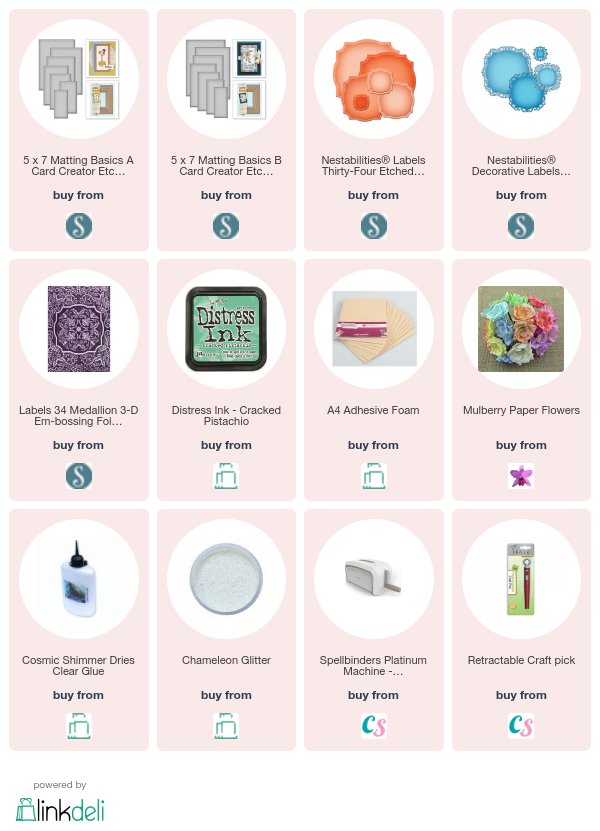
But for today we are using the Labels 34 from Spellbinders and this has matching decorative dies and a beautiful embossing folder which Letterpresses with a deep pattern
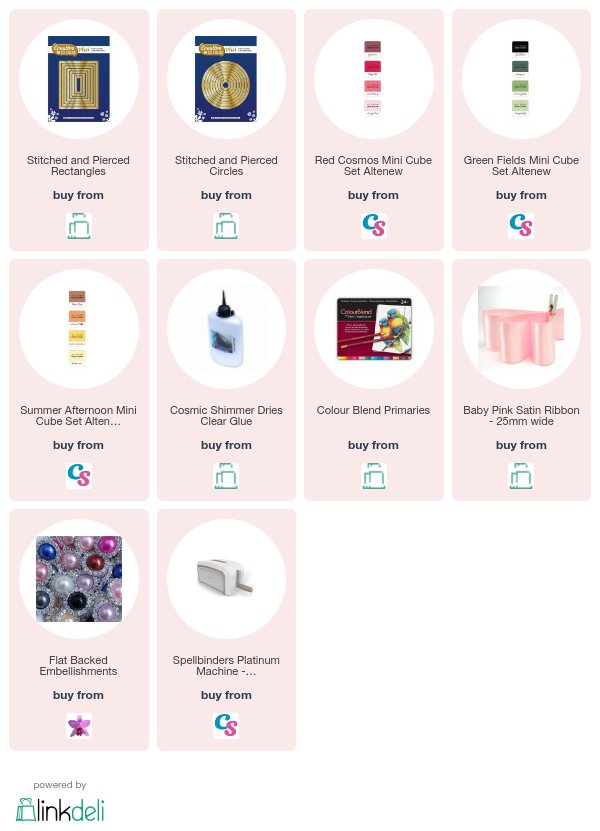
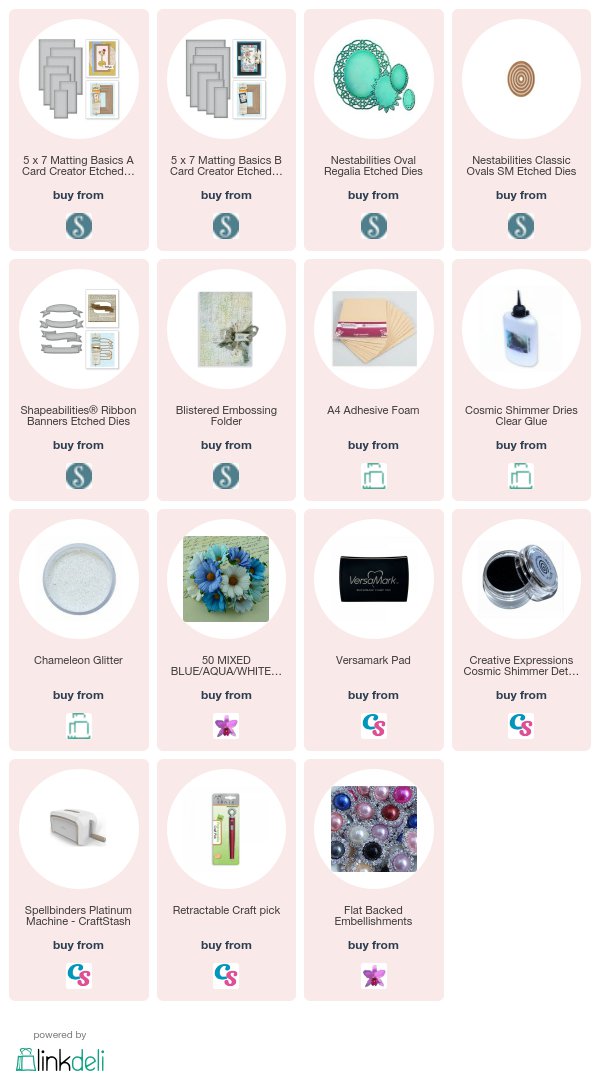
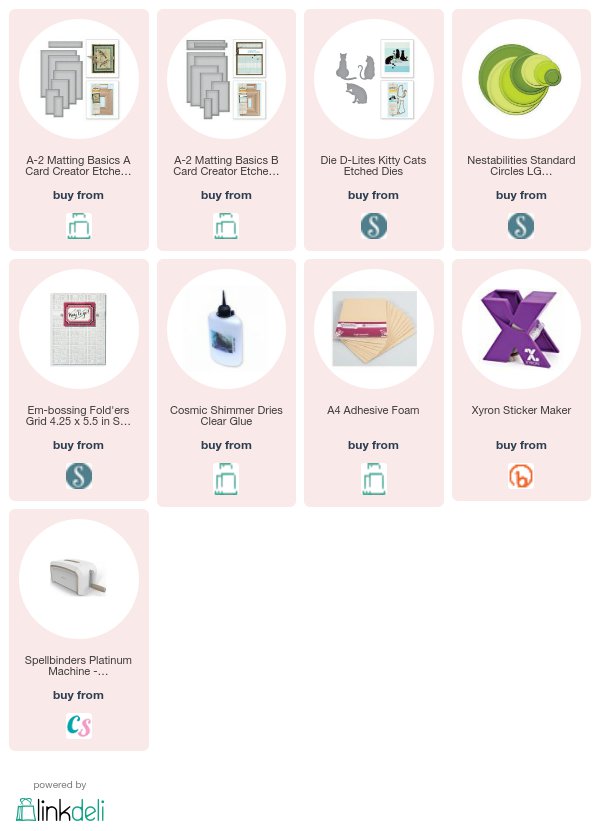
Spellbinders Supplies:
- Labels 34
- Labels 34 Decorative Elements
- Labels 34 3D Medallion Embossing Folder
- 5x7 Matting Basics A and B
- Platinum Die Cutting Machine
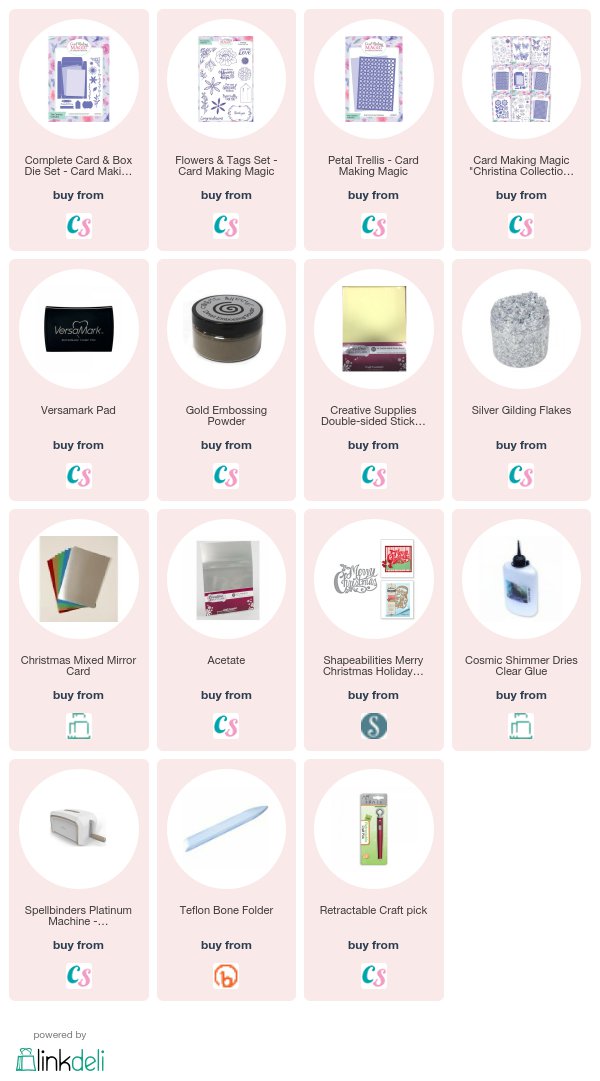
Other Supplies:
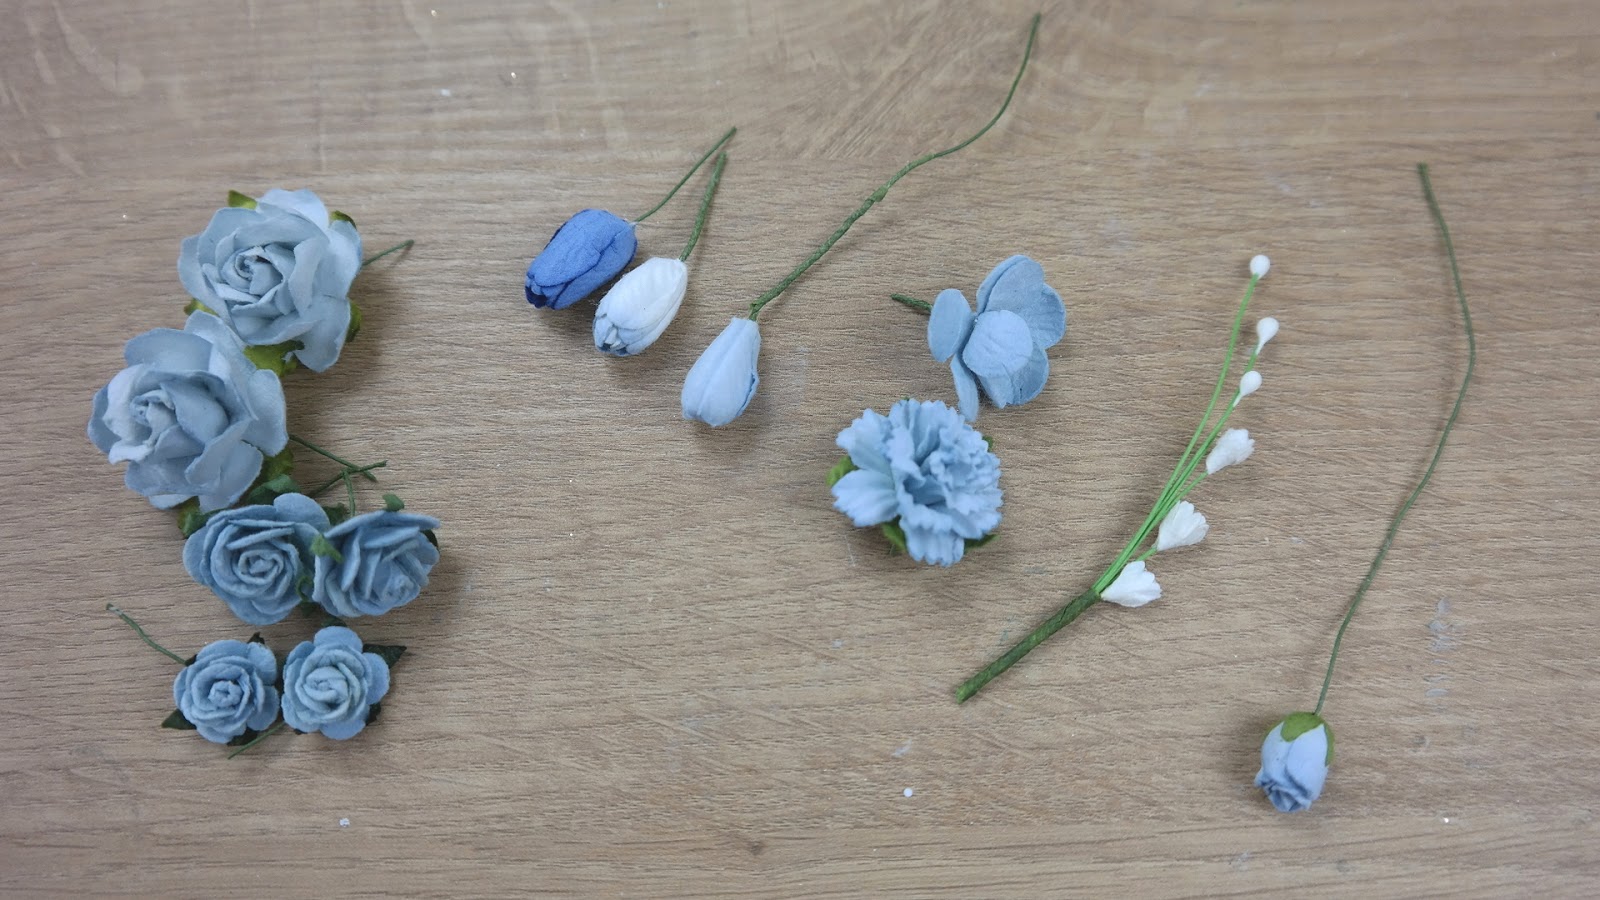
- Flowers from Wild Orchid Crafts
- Self adhesive pearls
- Foam tape from Craft Stash
- Glitter from Glitter Magic
- Distress Ink from Craft Stash
- Ribbon from my stash
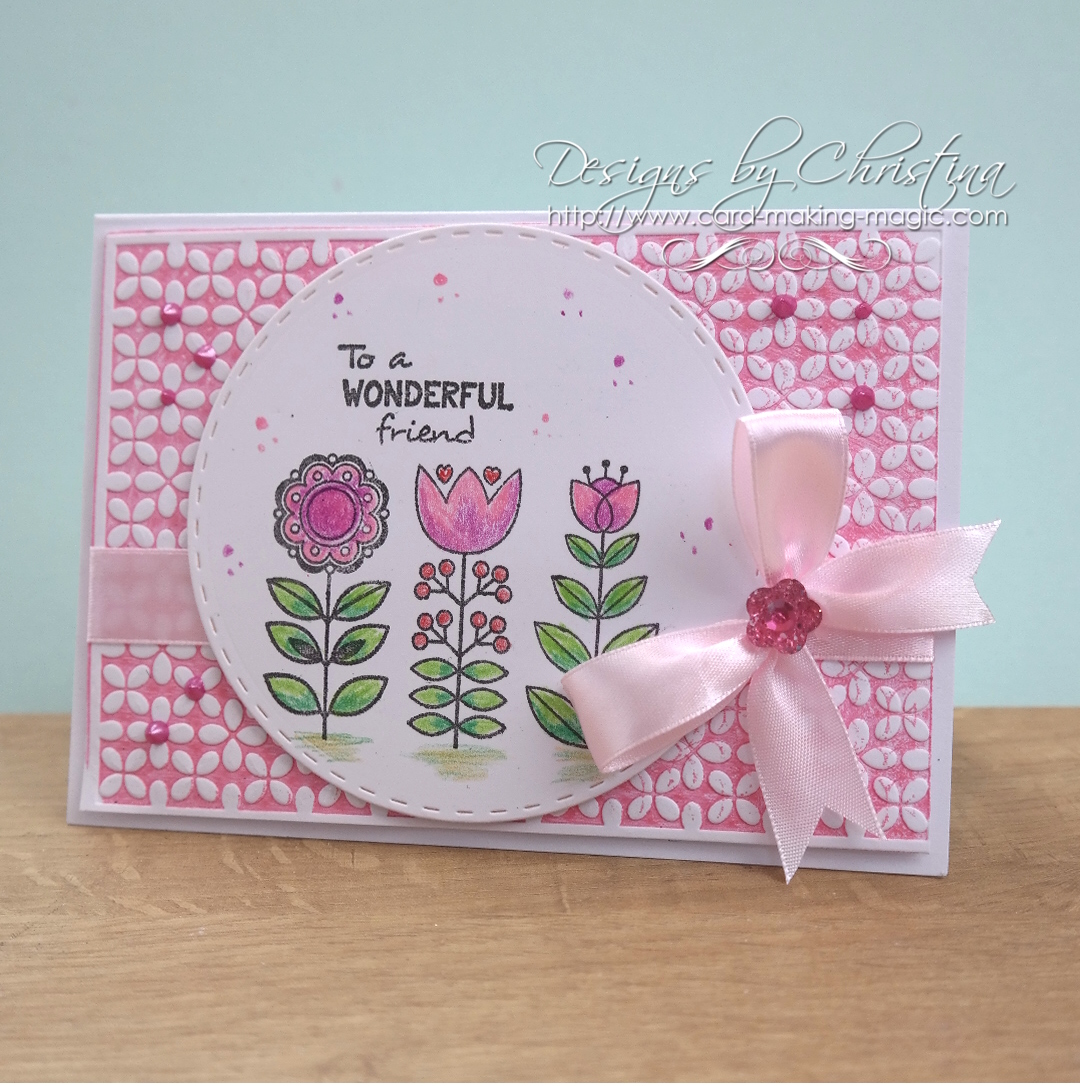
Instructions:
With die #7 from Matting Basics A cut two pieces in white to make the base card
With die #7 from Matting Basics B cut another panel in white
With dies # 6 and 4 from the Labels set cut two pieces in a green to match the ink
With die #4 cut one layer in white
Select the flowers you want to use
Add the sentiment to the smallest green die cut
Cut enough ribbon to wrap around the layers and make a bow
With foam between the layers assemble the card and place the flowers so that they please you
Dot with glue and sprinkle with glitter.
Add pearls around the flowers
More tomorrow ...
Hugs xx